What is the process for preparing the Basic sperm wash for IUI treatment?
Couples who have been unable to conceive a child may have an IUI procedure, which is a fairly basic procedure. The delivery of sperm cells directly into the uterus is referred to as Intrauterine Insemination or IUI and it increases the likelihood of conception. It’s a simple procedure that requires no anesthesia. After providing consent, the couple will need to choose a sperm washing method.
The sperm sample should be centrifuged in order to separate the motile and non-motile sperm cells. The motile sperm cells will be used in fertility treatment while the non-motility cells can be disposed of without further harm. Non-motility is typically due to damage or abnormal morphology of the nucleus.
The Sperm Sample Collection
Before sperm washing, the man must ejaculate into a sterile cup in order to collect the semen.
Then he will take the semen sample to his fertility doctor for centrifugation and sperm washing.
The fertility doctor will put the sperm sample in a centrifuge machine that spins quickly and separates the spermatozoa from other cell fragments.
Next, the fertility doctor will add some artificial seminal fluid to increase motility and improve the quality of semen samples. The infertility doctor then heats up this mixture until it becomes hot enough to kill harmful bacteria but not so hot as to damage the sperm.
The fertility doctor then centrifuges the sample a second time to remove any debris or bacteria that was not killed in the first centrifugation step. The sperm washing process is then complete.
Basic Sperm Wash for IUI Treatment Using Androwash?
A sperm sample is collected and cleaned before undergoing the IUI procedure. Sperm washing is a process of removing excess fluid, dead sperms, weak sperms, bacteria, trash, and prostaglandins in order to concentrate the most motile sperms and ensure that a bigger number of motile sperm cells reach the uterus at the same time.
There are a few different ways to basic sperm wash, but Androwash is one of the most popular options. Yes, Androwash can be used as a basic sperm wash.
Androwash is designed for Andrology laboratory setup. It is compact, portable, light-weight and easy to use. Androwash was designed by strictly adhering to WHO guidelines for RPM, RCF and time of a centrifuge. Even an unskilled person can handle the device with much confidence.
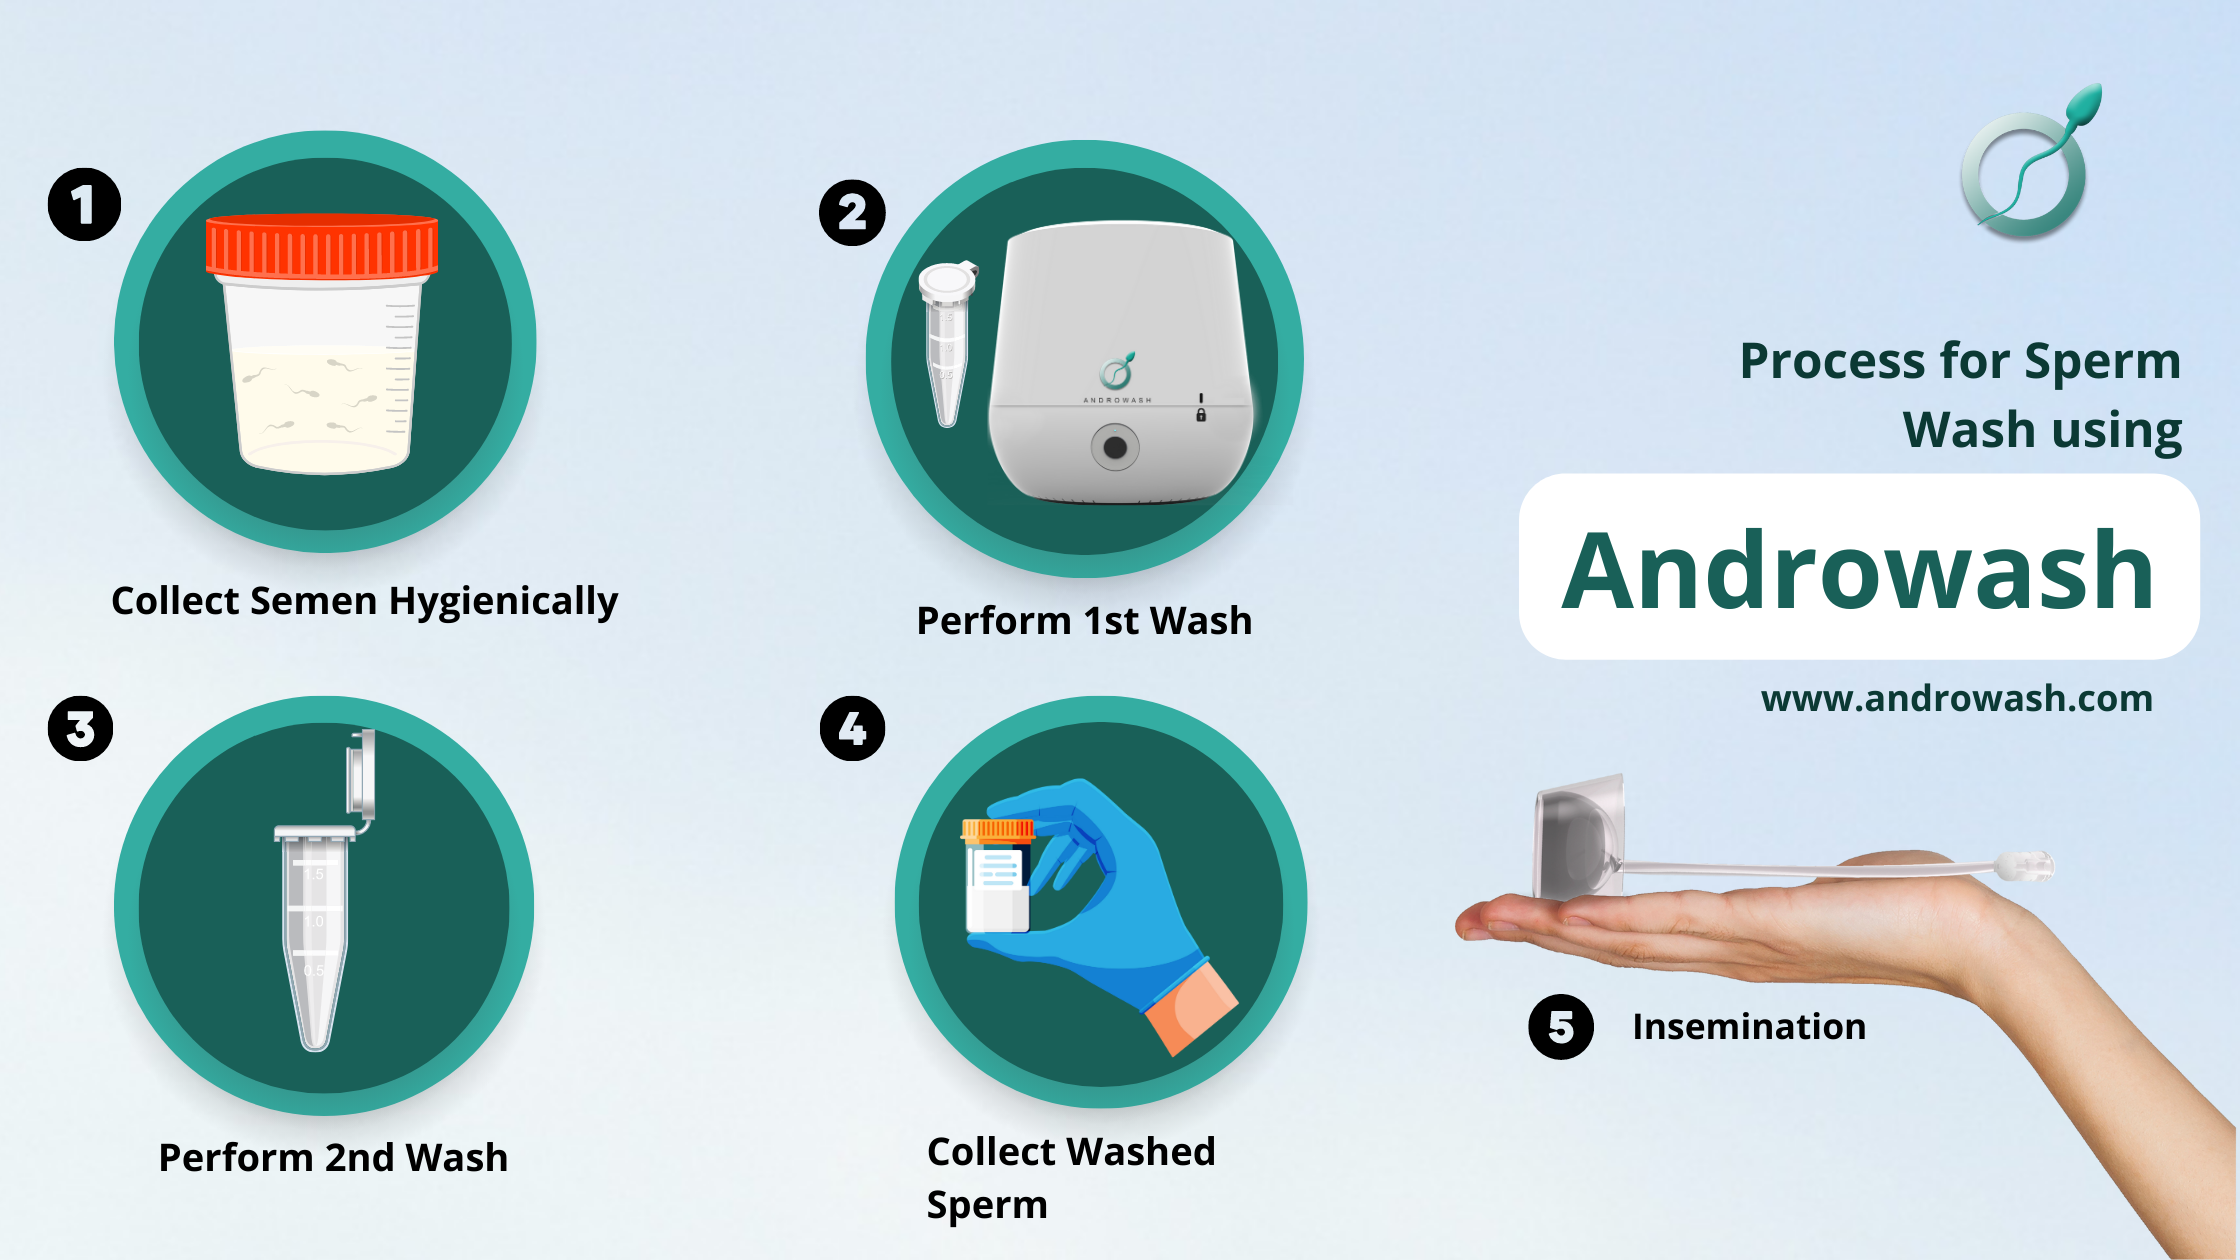
Step By Step process Used for Sperm Wash Using Androwash
For sperm wash using Androwash no special skills are required. Everyone can wash. Just follow four easy and simple steps.
Step 1 :COLLECT SAMPLE HYGIENICALLY
- Ensure hygiene, make sure to wash your hands.
- collect semen in semen sample cup by masturbation.
- Add 0.5ml of culture media to the sample and mix it by pipetting action.
- Make sure to close the lid of semen sample cup to avoid contamination and leave it for 20 minutes.
Step 2 : PERFORM 1ST WASH
- Put the main tube in the stand and fix cap 1.
- Take 1ml of lower density gradient media with the help of a syringe or needle.
- slowly inject the media from the syringe into the tube from the hole of cap 1.
- Take 1ml of higher density gradient media with the help of syringe/needle.
- slowly inject the media from the syringe into the tube from hole of cap 1.
- Remove cap 1 from the main tube slowly.
- Take Pasteur pipette and fill it with a liquified semen sample from semen sample cup.
- Place the pipette on the opening of the tube and slowly pour the content. Pouring should be done dropwise and slowly.
- Fix the cap 2 and close the tube.
- Take another tube and place it side by side in the stand and fill water up to the same level as in the first one.
- Open the top cover of Androwash. Carefully pick the tubes from the stand and fix them in the rotor slots.Plug in power to the cable. Blue light on the panel blinks rapidly indicating that the device is ready for use.
- Put the cover and lock it by rotating clockwise. Match the lock icons made on the body.
- Rapid blinking stops confirming that the top cover is properly fixed.
- Push the start button.
- Slow blinking starts(blinks every 2 seconds), implying that the process has started. Do not try to open during the operation. The first wash completes in 10 minutes.
- Blinking stops after 10 minutes indicating that the 1st wash cycle is complete.
Note: – If the power goes off, Restart the procedure for a single time.
Step 3-PERFORM 2ND WASH
- Open the top cover by rotating counter clockwise.
- Take out the first tube and remove cap 2.
- Fix cap 3 on the tube. It ensures that the washed sperm at the bottom is concealed.
- The supernatant can be easily disposed through the hole of cap 3 by titling the tube.
- Take a Pasteur pipette and fill it with 1ml of culture media.
- Pour the culture media through the bigger hole of cap 3.
- Gently shake the tube and dispose of the remaining supernatant again.
- Remove the cap 3. Pour 1ml culture media in the tube. Now fix cap 2 and gently shake the tube to mix media with washed sperm.
- Fix the tube back on the rotor slot. To ensure the balancing, fill 2ml of water in the other tube.
- Fix the top cover and press the start button. Slow blinking starts(blinks every 5 seconds), implying that the process has started.
- Blinking stops after 5 minutes indicating that the second wash cycle is complete.
Step 4-COLLECT WASHED SPERM
- Remove the top cover and take out the tube.
- Remove cap 2 and fix cap 3.
- Dispose the supernatant through the bigger hole.
- Remove cap 3.
- Washed sperm is ready for use. Add 1.5ml-2ml of culture media to it.
- Collect it using an IUI catheter. Make sure that the catheter tip reaches the bottom of the tube and all the washed sperm is collected.
– in case of power failure:
Restart the procedure as per the instruction manual.
Step 5-INSEMINATION
- Remove the catheter from the syringe.
- Attach the loaded syringe to V-Conceive which is already inserted into the vaginal canal.
- Push the plunger of the syringe to inseminate the washed sperms inside.
- Attach the rubber stopper to prevent any back flow after removing the syringe.
- After relaxing for about 1.5-2 hours, remove the V- Conceive by holding the tall end and pulling it out.
How does the Basic sperm wash help in Successful IUI Procedure?
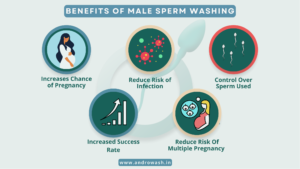
The Basic Sperm Wash is a simple, yet effective way to improve the chances of a successful IUI procedure. It helps to remove any debris or contaminants that may be present in the sperm sample, which can reduce the risk of infertility.
The Basic Sperm Wash is typically done before the IUI procedure begins. It is also recommended for couples who have had problems with fertility in the past. By performing this simple step beforehand, you can help to ensure a successful outcome for your upcoming IUI procedure.
If you are considering undergoing an IUI procedure, it is always best to discuss your options with a fertility specialist. They can help to recommend the most appropriate sperm washing process for your individual situation.
So, there you have it – the entire process of preparing for IUI treatment. It is only after you understand all these steps that you can prepare in perfect confidence. In addition to the sperm washing method, it’s also important to use certified and sterile equipment as well as perform all steps under a proper light. Once done right, this simple procedure can lead to happy news!
Androwash is designed for Andrology laboratory setup. It is compact, portable, light-weight and easy to use. Androwash was designed by strictly adhering to WHO guidelines for RPM, RCF and time of a centrifuge. Even an unskilled person can handle the device with much confidence.
Androwash is designed to be a cost-effective and safe instrument for basic sperm wash. It is the perfect choice for laboratories that need a compact and portable sperm washing instrument.


